
Replacing the Waste-Pump Tubes
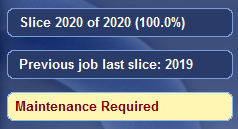
You can check when the pump tubes need to be replaced in the Maintenance Counters interface.
To open the Maintenance Counters interface:
| ➢ | Click on the "Maintenance Required" indicator. |
or—
| ➢ | From the Options menu, select . |

When the Maintenance Counters screen opens, scroll down to the General Pumps section.
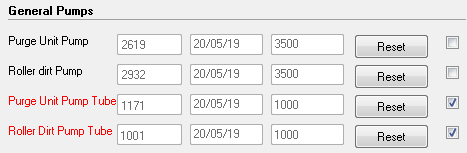
The waste-pump tubes that require replacing are displayed in red.
Note: If the check box on the right is selected, the "Maintenance Required" indicator appears when that task is due.
To replace pump tubes, you replace the entire pump "cassette" in the printer. Replacement cassettes are supplied in the printer Start-up Kit. Additional cassettes can be ordered from your Stratasys service provider.
To replace the waste pump tubes:
| 1. | Make sure that the printer is in Idle mode. |
Note: The printer enters Idle mode about 16 minutes after printing stops. To force the printer into Idle mode, close the printer application: From the File menu, click .
| 2. | Using an 8-mm hex (Allen) key, open the two latches that secure the left printer panel (as you face the printer). |

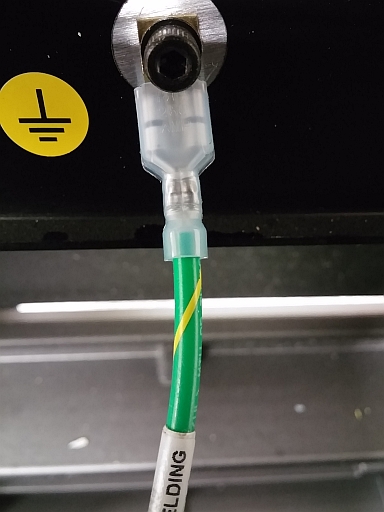
| 3. | Open the panel and disconnect the ground (earth) wire. |
| 4. | Remove the panel. |
| 5. | Identify the waste pump that requires tube replacement. |

| 6. | Unscrew the fittings that connect the pump waste tubes, and separate the tubes. |

| 7. | Remove the part of the fitting remaining on the pump tube, and save it. |
| 8. | Pull out the white restraining clip to release the pump. |


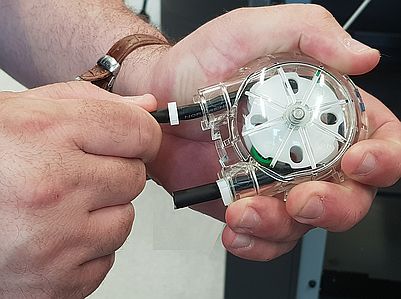
| 9. | When the tubes on both sides of the pump are disconnected, rotate the pump "cassette" counter-clockwise and remove it. |

| 10. | Holding a new pump cassette with one hand, gently pull on each of the tubes. |
Pulling on the tubes before installing the cassette ensures that the pump mechanism turns freely.
| 11. | Attach the new pump cassette to the printer. |
Fit the cassette into the slots in the housing, and turn clockwise to working position.
| 12. | Connect the tubes to the new pump cassette. |
| 13. | If necessary, replace the pump cassette on the other waste pump. |
| 14. | Connect the ground wire to the printer panel. |
| 15. | Attach the panel to the printer. |
| 16. | Open the Maintenance Counters screen, scroll down to the General Pumps section, and click for the relevant counter(s). |