
Cleaning the Print-Head Splash Shield
To prevent excess printing material from accumulating around the print heads, a splash shield is installed on the bottom of the print block. Remove the shield and clean it once a month, when cleaning the print heads (see Cleaning the Print Heads, UV Lamp Glass, Roller and Wiper).
To remove the print-head splash shield:
| 1. | Run the Cleaning wizard from the Options menu. |
When the printer moves components to the cleaning position, the following screen appears.

| 2. | Open the printer and place a mirror on the build tray. |
| 3. | Put on cleaning gloves. |
Caution
Uncured printing material on the print heads might cause skin irritation. Use disposable cleaning gloves to protect your hands.
| 4. | Using a 2-mm hex (Allen) key, remove the screws to remove the splash shield. |
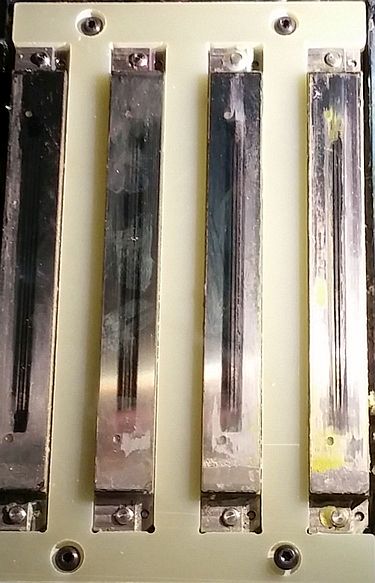
Print-head splash shield installed on the print block

Warning: Hot Surface
The print head orifice plates (bottom surface) may be hot. Do not touch them with your bare hands, and proceed with caution.
| 5. | Soak a cleaning cloth with 90% alcohol and clean the splash shield. |
| 6. | Return the splash shield to the print block and secure it with four (4) screws. |
After cleaning the print heads and the splash shield, continue with step 9 in the daily cleaning routine (see Cleaning the Print Heads, UV Lamp Glass, Roller and Wiper).